


You’re planning a trip to a big city and want to know what equipment to bring to try your hand at street photography. I did my research leading up to a trip to Washington DC and Baltimore this past June. I’m very happy with the equipment I decided on, and I brought the same set up with me to a more recent trip to Boston and New York City.
Read on for affordable street photography equipment recommendations!
Photography gear extends beyond your camera body and lens selections. You’ll also want to decide whether to bring a tripod, additional lighting like a off camera flash or speedlight, and lens filters. Of course, extra memory cards, batteries, and your battery charger are a must, as well. I learned the hard way that it’s a good idea to bring a sensor cleaning kit that includes a sensor blower, swabs, and cleaning solution. I only brought a lens cloth and blower on my first trip, which wasn’t enough. Lots of dirty sensor spots to deal with in Photoshop!
Let’s start with your camera body.
Unless street photography is going to be your main genre, I do not recommend choosing a body based exclusively on that. I am a family photographer who also specializes in birth stories and in home newborn sessions. A camera that handles low light photography is pretty important to me. My primary body, and the one I brought on my trip, is the Canon R5 mirrorless camera. That worked out great for the low light street photos and night photography. But, it is also a very expensive camera!
You can definitely get away with less expensive camera gear. Just make sure you’ve got some decent lenses on hand and you’ll be good to go. I have quite the arsenal of lenses for my photography business. My most used lenses are my EF70-200mm f2.8 (which has been my main work horse since 2015) and my new RF 28-70mm f2.0. The latter replaced the EF 24-70mm that I’ve also had since around 2015. I do not recommend either of those lenses for your street photography equipment! They are very large and too heavy to be lugging around all day unless you are also a body builder. They are also very expensive!
Carrying around a bulky zoom lens isn’t just about how strong you are.
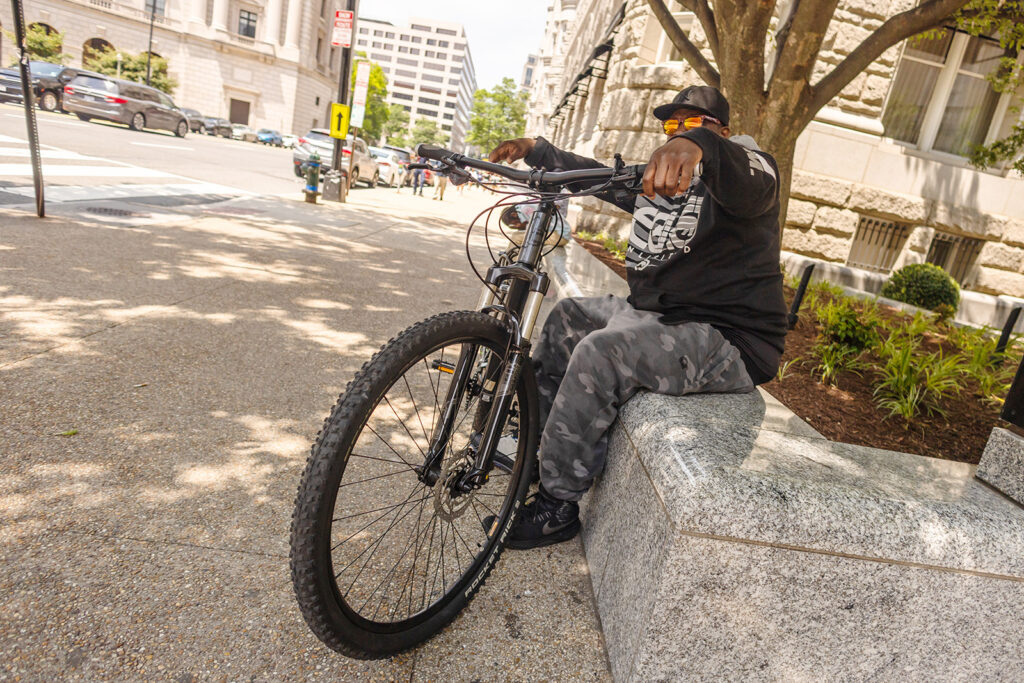
If you want to focus on documentary photography and take truly candid moments, you do not want a large lens drawing attention. That might work if you park yourself on a bench away from the action and zoom in. But, ideally you will be enjoying your adventure with one or two little, prime (fixed focal length) lenses. For that, I chose a Nifty Fifty (RF 50mm f1.8) and a landscape lens (RF16mm f2.8). So, I could identify these similar lenses easily, I left the lens hood on the 16mm. These are both quite inexpensive lenses that were great for my travels. Quality zoom lenses tend to be significantly more expensive in order to get those larger aperture options. In addition to keeping things light weight and inconspicuous on my already large camera body, I really didn’t want to be carrying any more expensive gear with me than necessary.
The small prime lenses were perfect for stealthy photos as I comfortably walked down the street.
And both lenses provided a wide enough aperture to get some great low light photos whether indoors, at night, or when I was trying to catch some action shots with dimmer light. The main piece of advice I have is to find a good balance of size, weight, versatility, and cost for what you plan to photograph.
Another bonus of my R5 camera body is that the super high resolution output allows me to crop in pretty far and still have a quality image. So, even my wide angle lens got a lot of use beyond landscape photos and cool perspectives of the buildings.
There is also an in camera cropping option on the R5 that allows me to zoom in additional 1.6x on any lens. I ended up using that quite a bit to give myself more variety in focal lengths. But, I also decided to bring one longer prime lens. Out of my 100mm f2.8, 85mm. f1.2, and 135mm f2.0, I opted for the third one. It was the best balance in terms of size, weight, and is an excellent portrait lens with beautiful bokeh. Switching my 135mm to the 1.6x zoom gave me a 216mm focal length, which was great for those times I did want to find a place to relax while still people watching with my camera in hand.
On a side note, one of the biggest lessons I learned during this street photography adventure is that I’m not a big fan of taking pictures of people without their knowledge. It turned out to not be so much about whether I CAN be stealthy, but should I be. You can read more about my thoughts on the ethics of street photography in this blog post.
Okay, so my main street photography equipment consisted of my amazing R5 body, Nifty Fifty, 16mm landscape lens, and my creamy and clear 135mm portrait lens. That camera bag is starting to get heavy!
During the 4 days I was in Washington DC and Baltimore, I ended up covering 50 miles on foot. I have nothing against public transportation other than I hate figuring out bus schedules. I’d rather just walk! Either way, I certainly wasn’t going back to my hotel room in the middle of the day. I wanted to be prepared for a full 12 hours away from my home base each time I headed out. time to pack more in my camera backpack!
I had three 128GB memory cards with me and three charged batteries at the start of each day. At the end of each day, I was absolutely exhausted. Mentally and physically. I just wanted to collapse, but it was time to get ready for tomorrow. Charge those phone and camera batteries. Clean your lenses. Find any misplaced lens caps and equipment. It’s a good idea to back up your photos at that point, as well.
The biggest challenge I had on that first trip was that the frequent lens changes resulted in a dirty sensor.
I ran the automatic camera sensor cleaner and also used my sensor blower on manual cleaning mode. Unfortunately, that didn’t help much. I was left with extra editing, especially on photos with lots of sky where the dirty sensor spots were pretty obvious. When I got home, I purchased a full sensor cleaning kit and got my camera fixed up. That’s an easy enough item to bring on future trips, too.
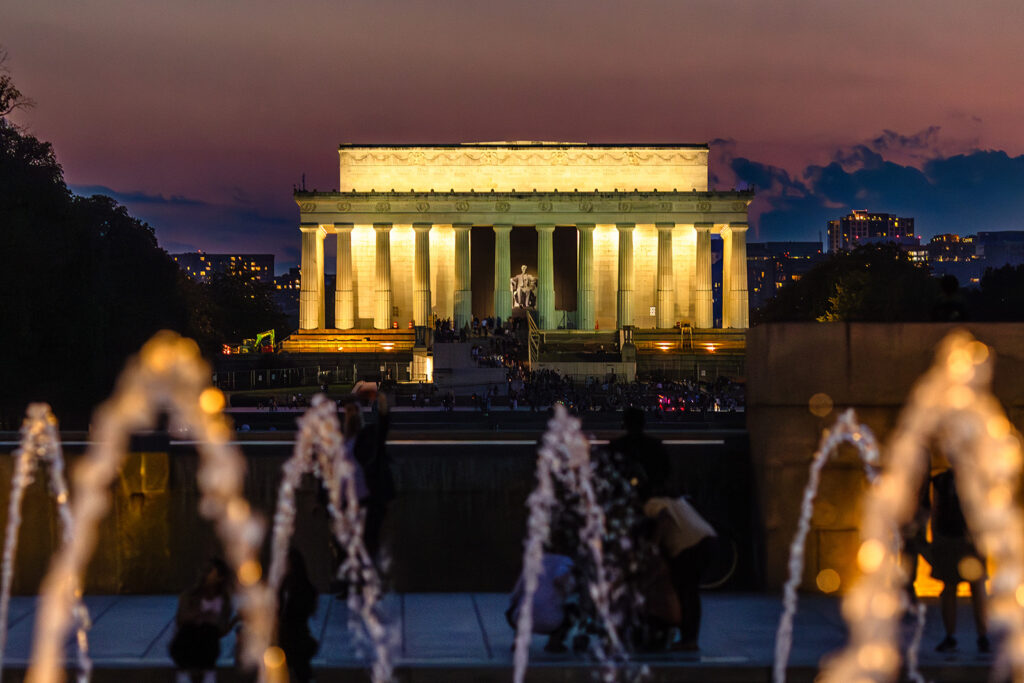
I purchased a travel tripod to bring along. My plan was to try taking some quality selfies with my camera, but I knew the night photos would be important to me. I got a sturdy tripod that hooked onto the side of my camera bag. The long exposure photos that I got when in Boston and DC were definitely worth the added weight!
The last piece of gear I’d like to mention is your camera bag. That is going to be one heavy bag packed with expensive equipment! I like to use a backpack camera bag. Be careful to choose one that doesn’t look like a camera bag and doesn’t have any camera logos visible. I don’t want to paint a target on me or my gear. Pick a bag with easy access since you’ll want to minimize how many times you set it down to trade out your gear. And make sure you pick a bag large enough to also house whatever snacks you need, other travel essentials like sunblock, your phone, water, and of course some souvenirs!
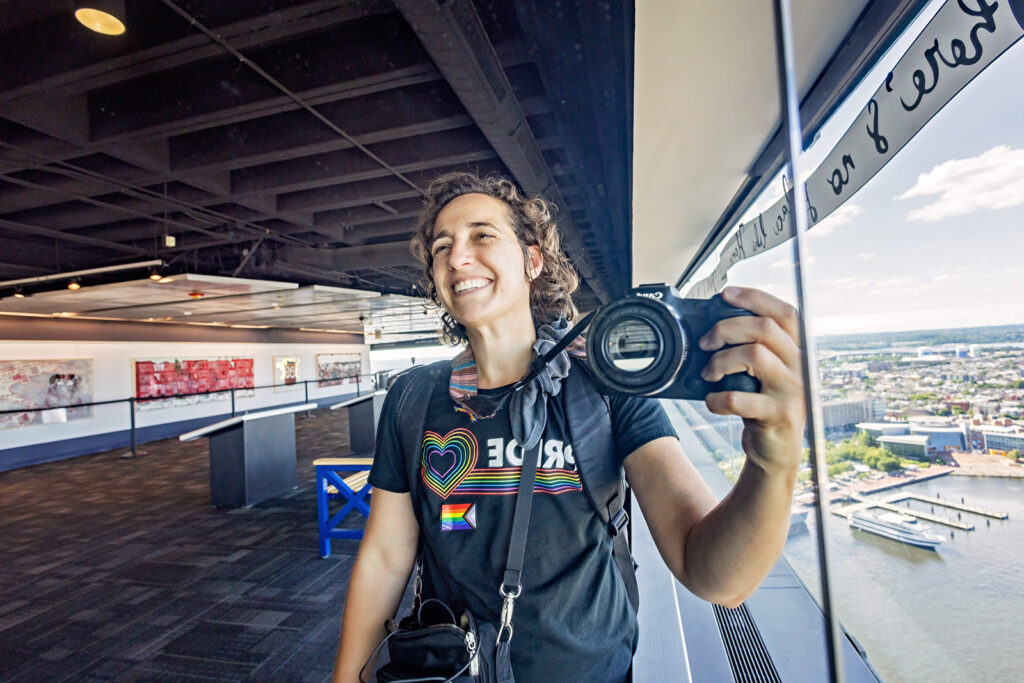
Self portrait in mirror at top of the World Trade Center in Baltimore, MD.
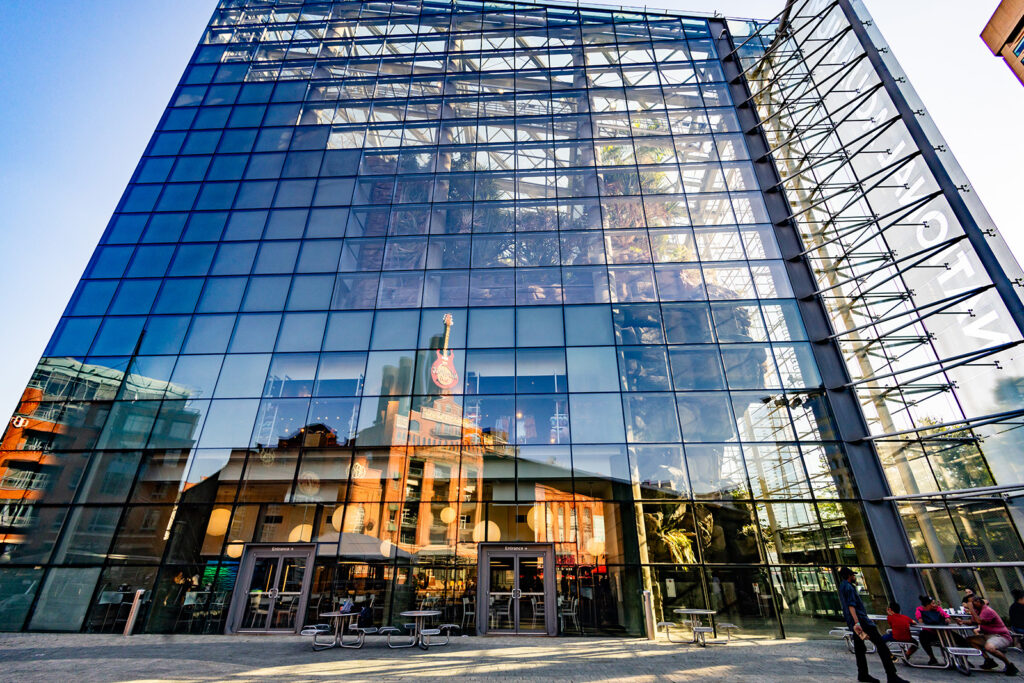
World’s tallest pentagonal building.
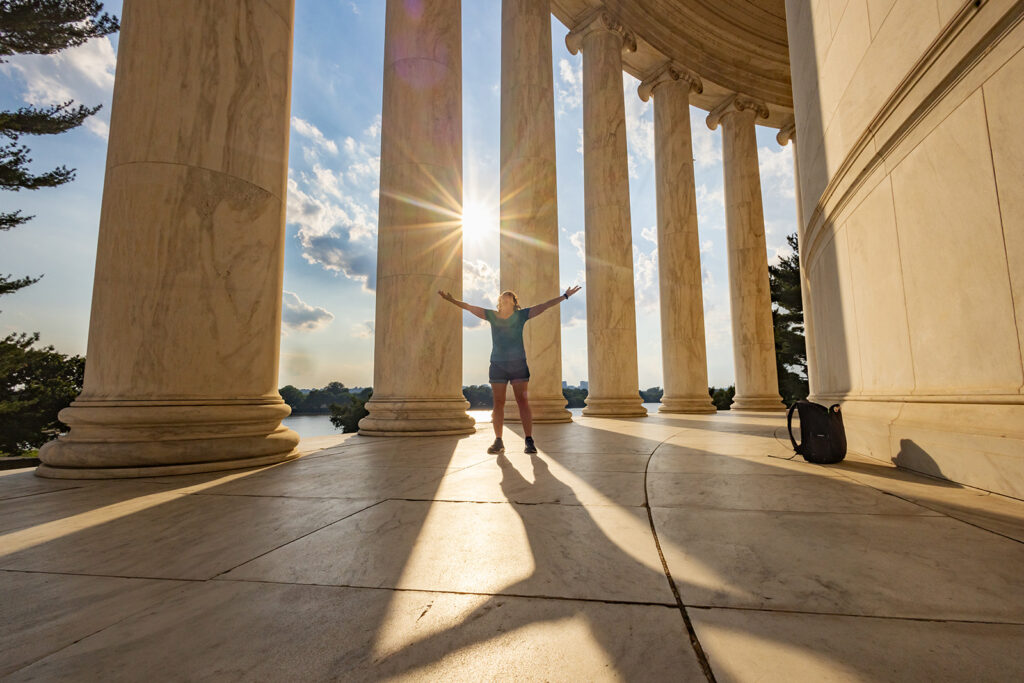
Self portrait with tripod and camera timer at Jefferson Memorial in Washington, DC
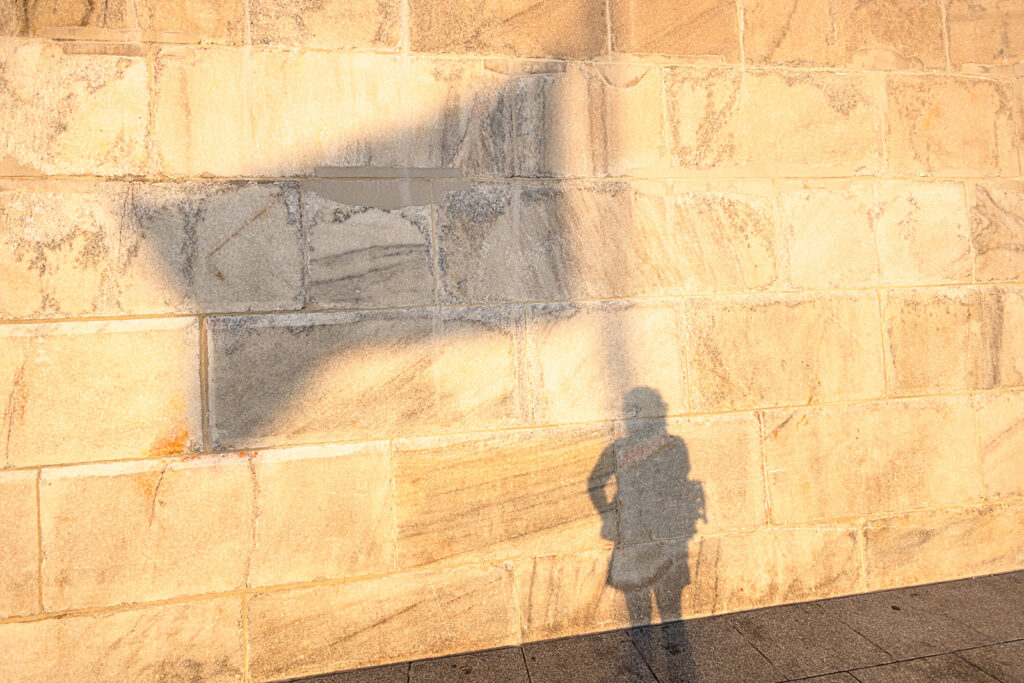
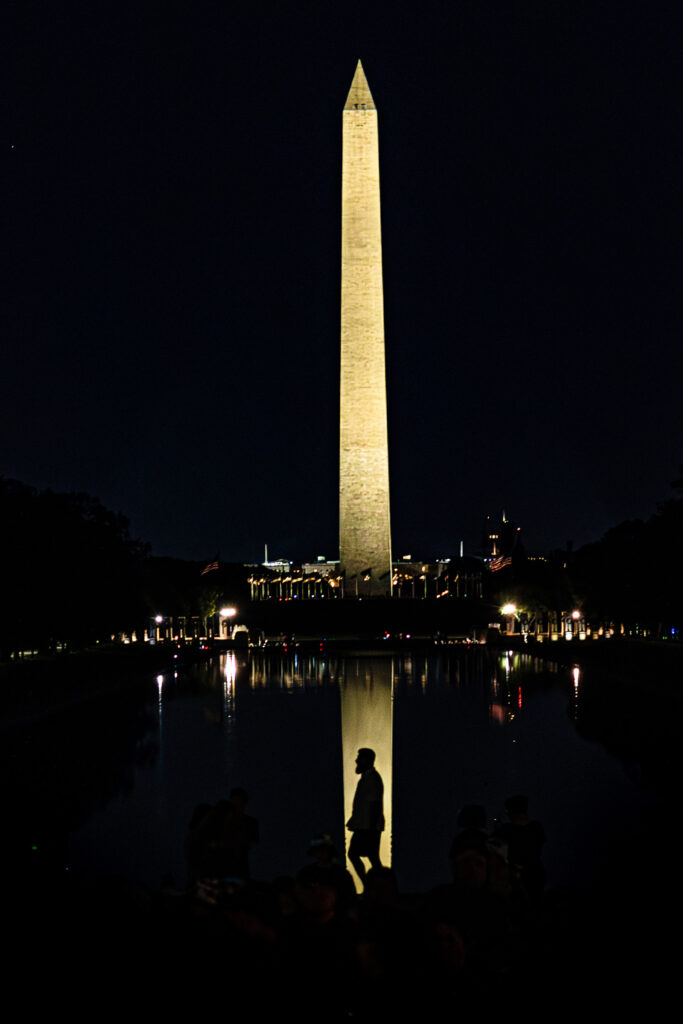
Photo of my shadow with the American flag on the Washington Monument.


