


The instructor of a very expensive course I took said photographers should never feature sunset silhouette photos on their website. The main reason for that is because it doesn’t take any real skill to create beautiful silhouettes. I followed his recommendation for my website, but I get a great reaction on Facebook and Instagram every time I post one. I’m happy to share the secrets to capturing these magical moments!
Read on if you want to learn how to shoot a perfectly beautiful silhouette photo!
The only things you need to create silhouettes is a camera that you can manually adjust settings on and a background that is brighter than your subject.
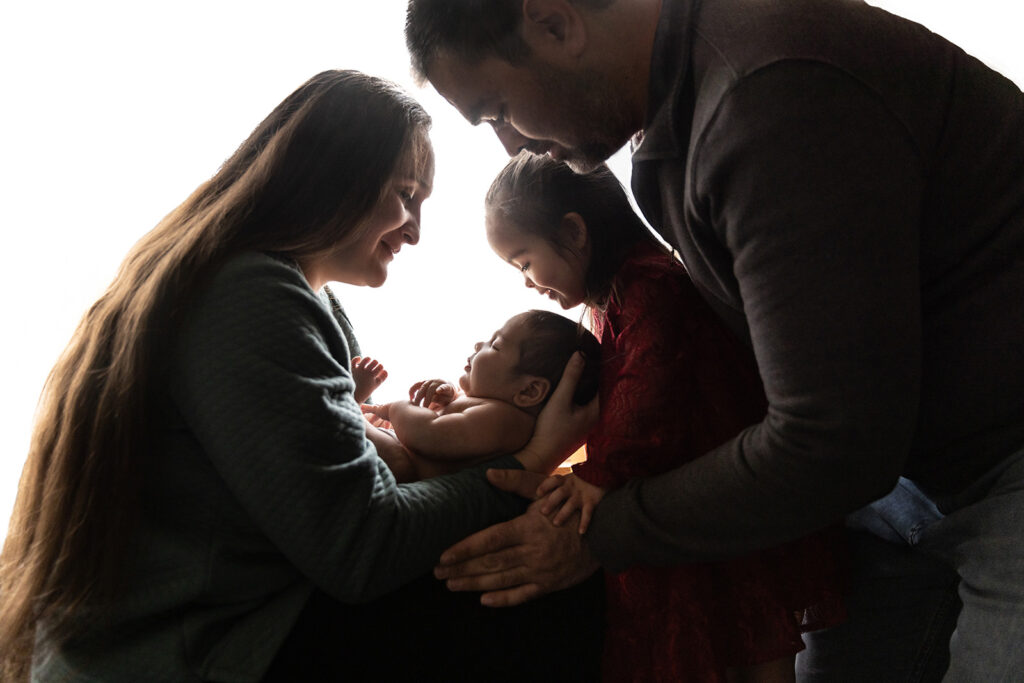
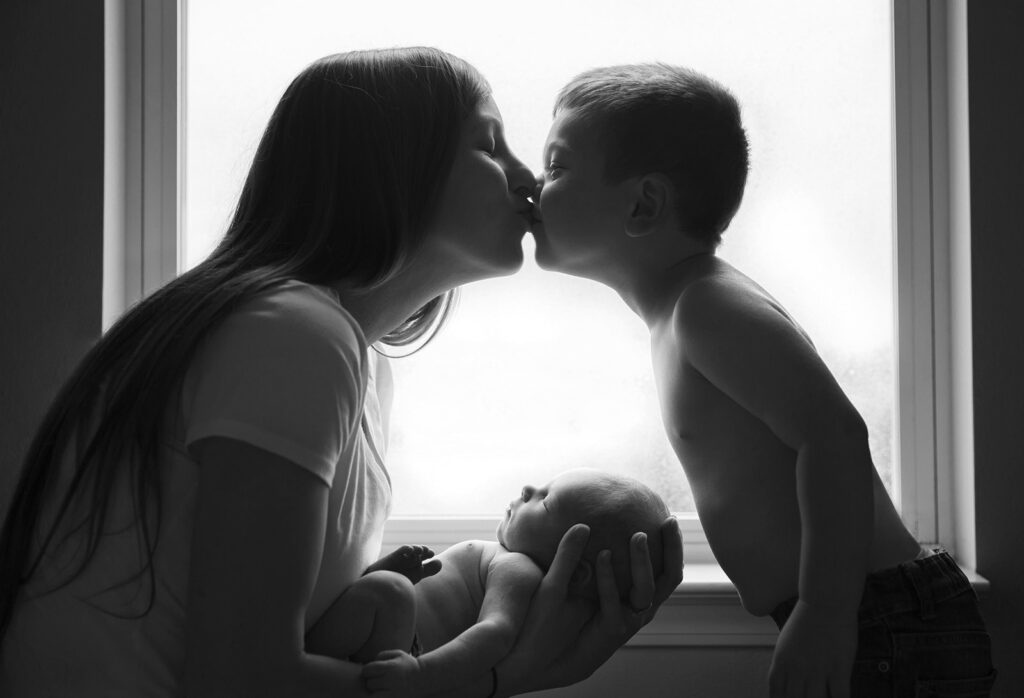
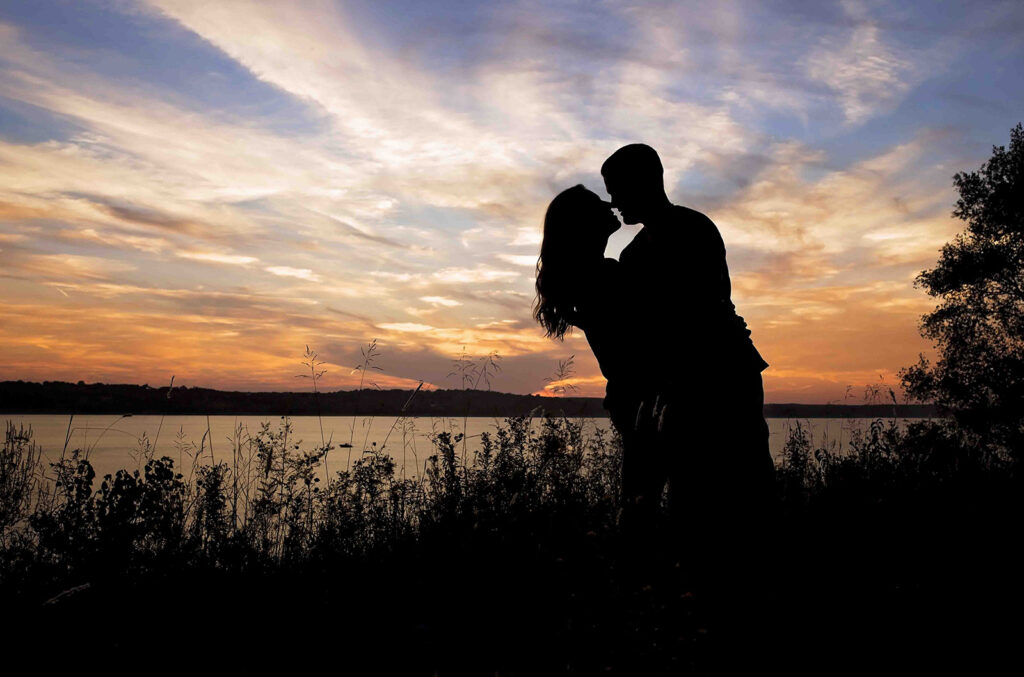
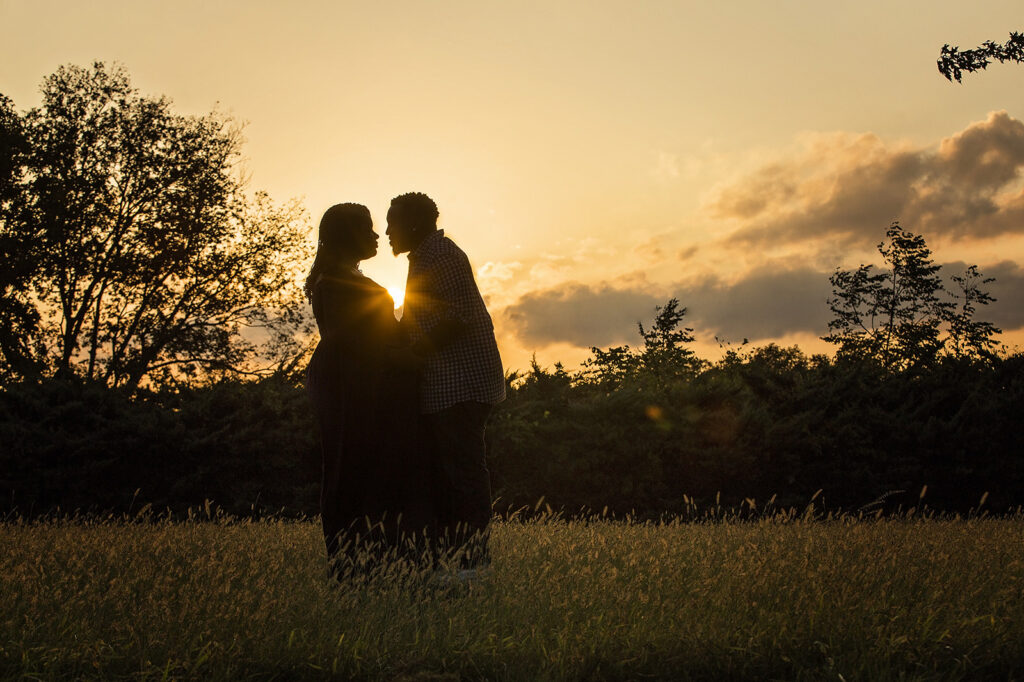
This can be achieved indoors or outdoors. I love backlighting my photos. This means I put the light source behind my subjects. I can then expose my photo for the people in the photo with a blown out background. Or I can expose for the background. The brighter the background, the darker the subject.
Sometimes I will set that exposure somewhere in the middle, creating a beautifully light-rimmed moment of connection. I do this a lot for in home photo shoots.

This blog post will focus on how to create sunset silhouettes.
Since you’ll want your subject in focus, but exposure set to your background sunset, shooting in auto mode won’t likely work very well. Every time you focus on your subjects, your camera will automatically set the exposure for them, as well. If you are using a phone camera, you might be able to get away with focusing on your subject then dragging your exposure slider all the way to the left, darkening the image. You will probably still need to use your phone’s software to edit the photo and bring the shadows and blacks down more. But, let’s shift our attention to cameras that allow you to control the exposure.
I always shoot in manual mode, which means I have full control over my exposure triangle (ISO, Shutter Speed, and Aperture). I’ll start with a simple list of instructions before going into more detail for you:
1) Set your camera to Manual Mode.
2) Set your Aperture to around f4-f8.
3) Set your ISO low, around 200.
4) Set your shutter speed high, about 1/1000 sec if the light allows.
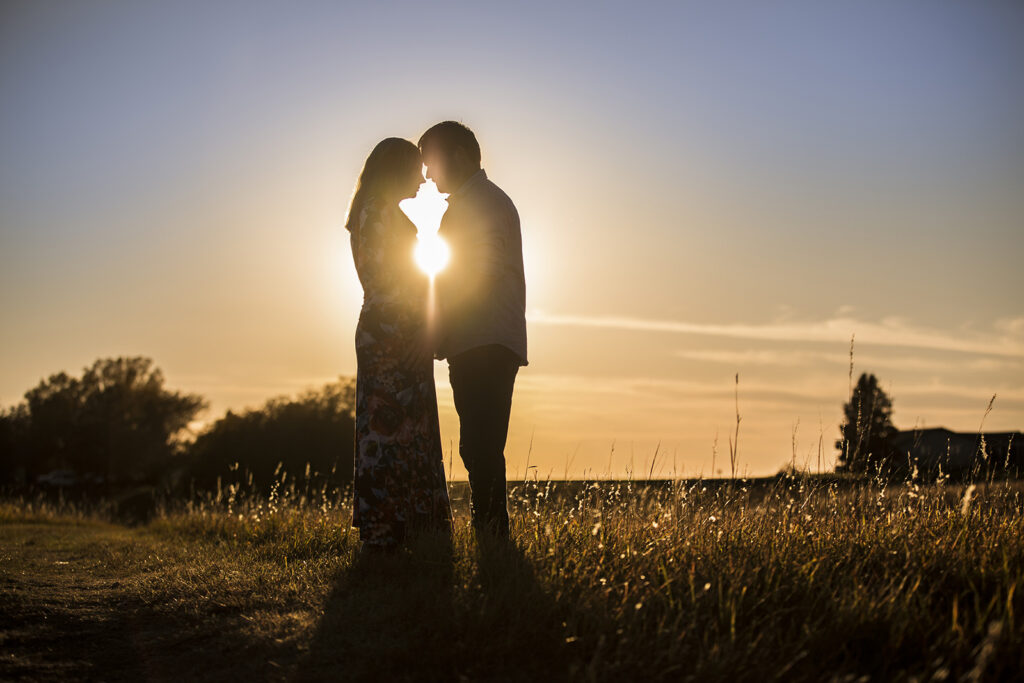
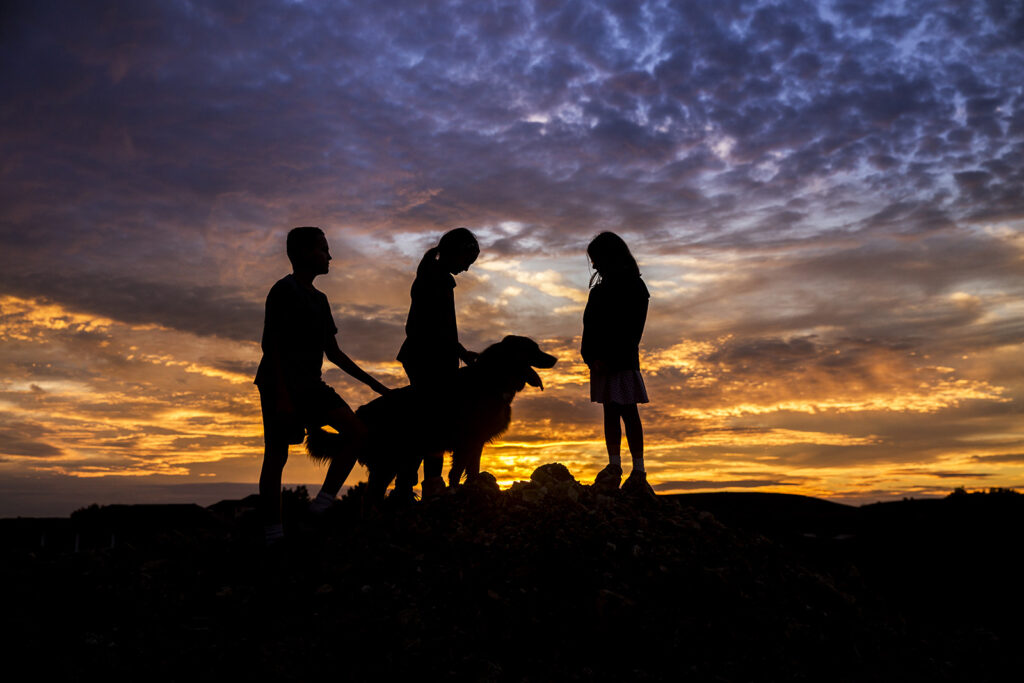
5) Get low enough that the horizon is below your subject.
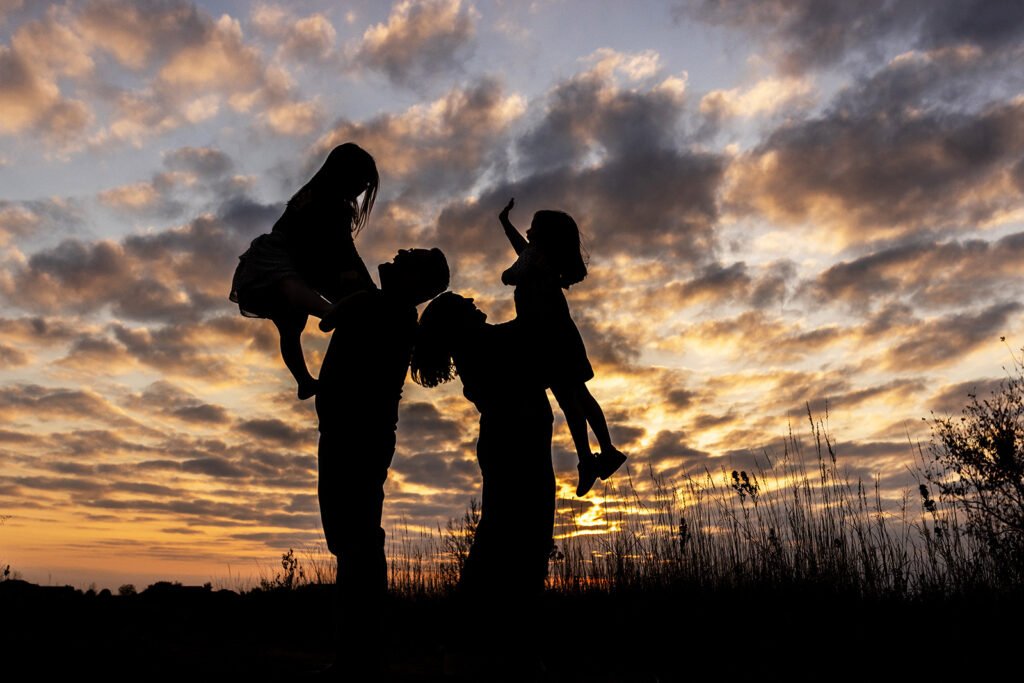
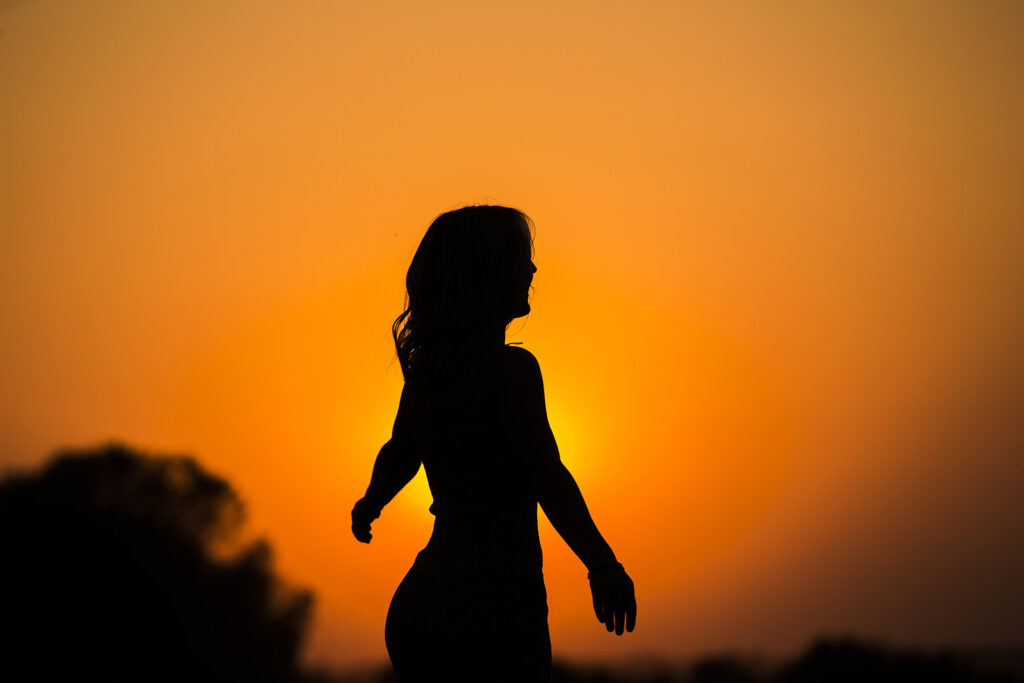
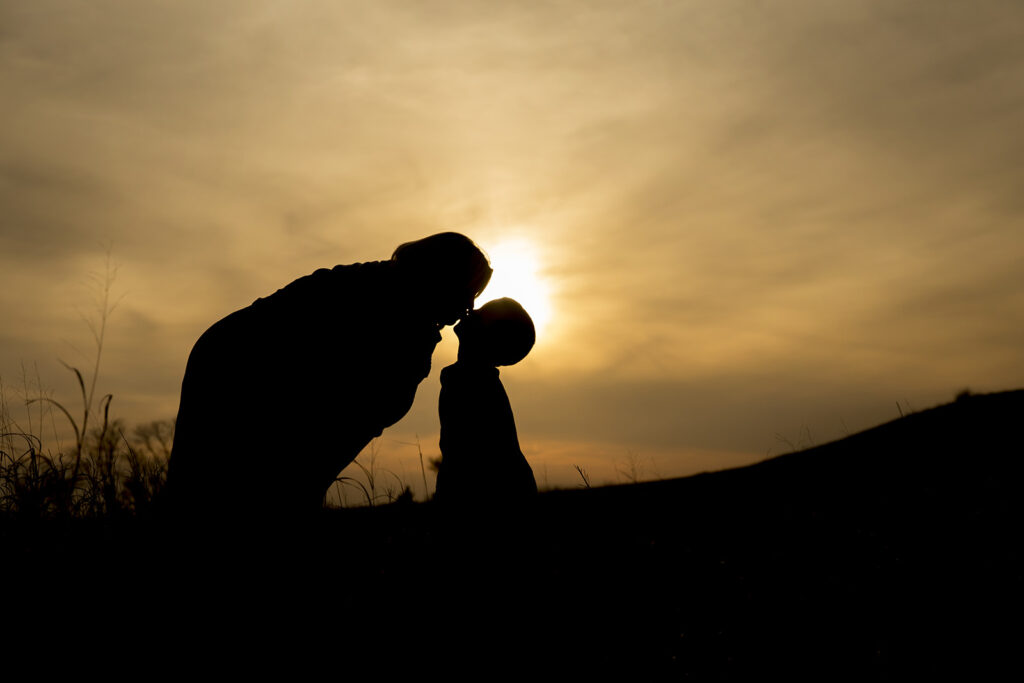
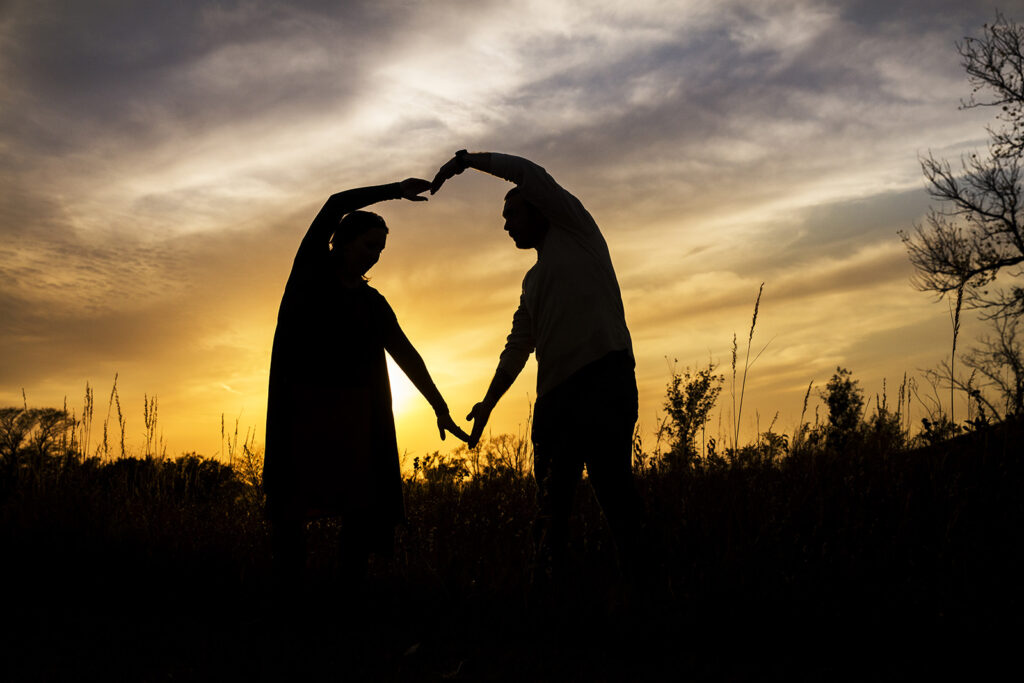
6) Instruct your subjects to separate their bodies and turn so you see their profile.
7) Select your focal point on your subjects.
8) Fire away!
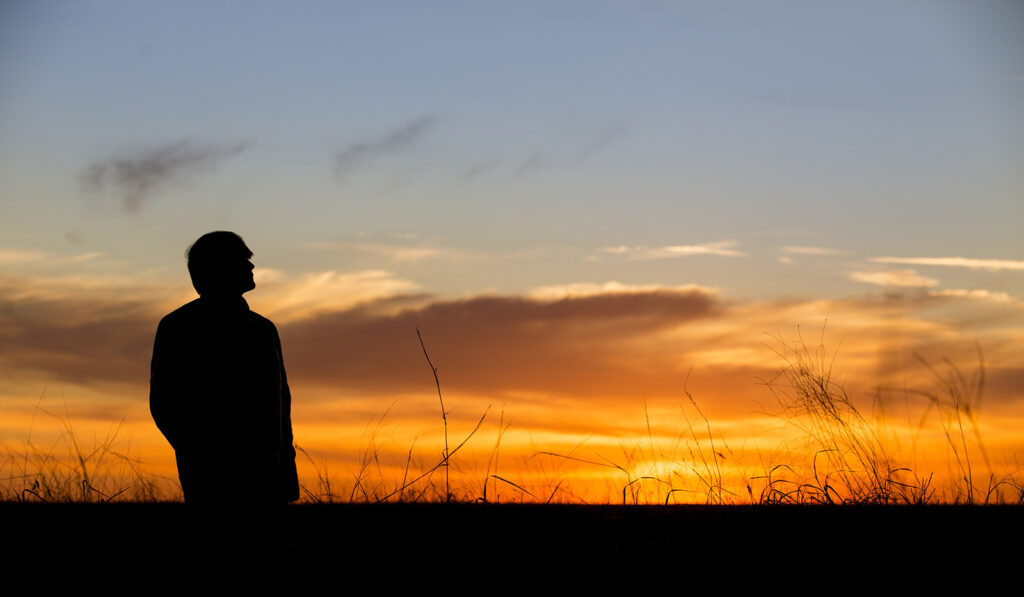
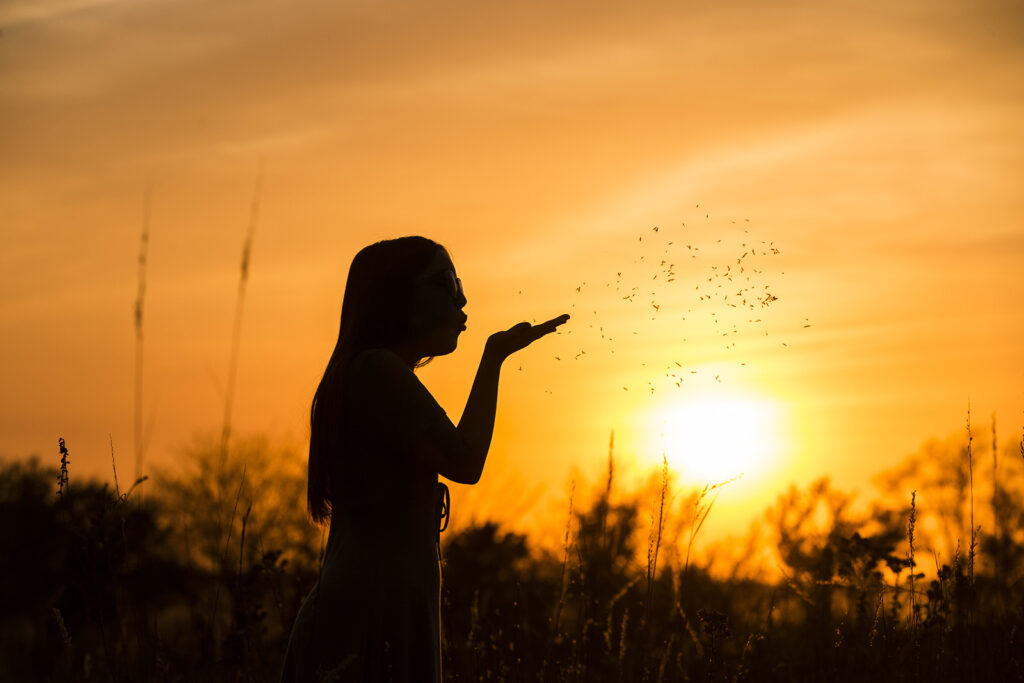
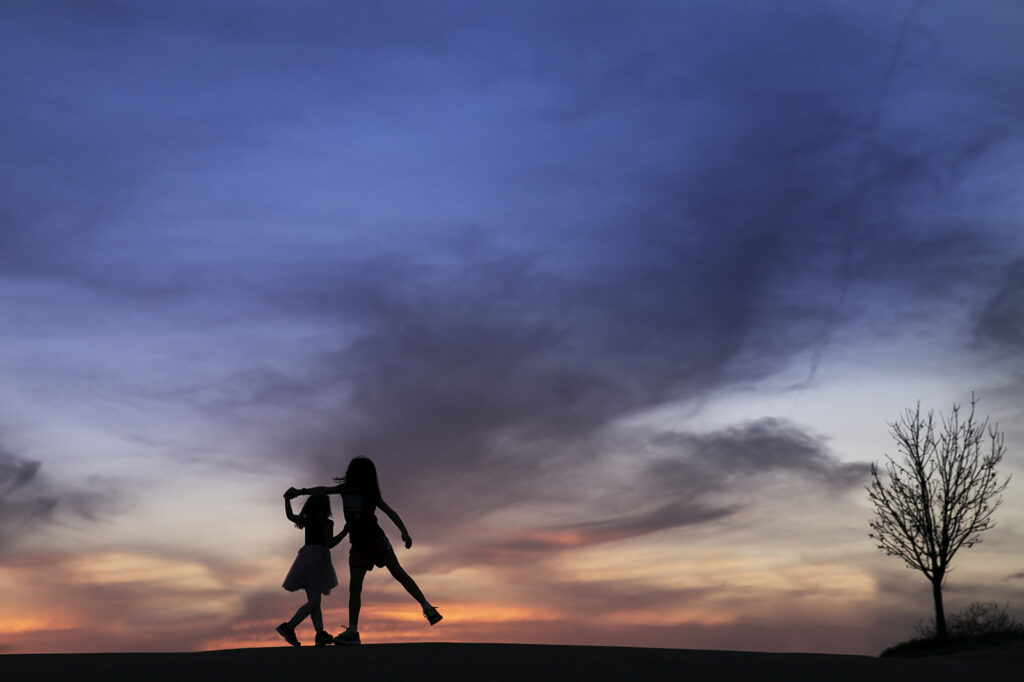
Even the most simple sunsets can make for absolutely magical silhouettes.
Of course we all want a stunning sunset, but even the simplest sky can make for a beautiful picture. Just keep in mind that a brightness of the backdrop will cause the above suggested settings to vary. For a darker sky, you’ll probably use a wider aperture (lower number, perhaps around f4), a slower shutter speed (maybe as low as 1/500 sec), and/or a higher ISO (ISO-320 or more). On less expensive cameras, an ISO above 800 will likely result in visible grain, so I’d start with adjusting the aperture (going as wide as your lens will allow to let more light in). Then if needed, try lowering the shutter speed (not less than 1/250 sec for stationary subjects). You can also use a tripod if you are forced to work with a slower shutter speed.
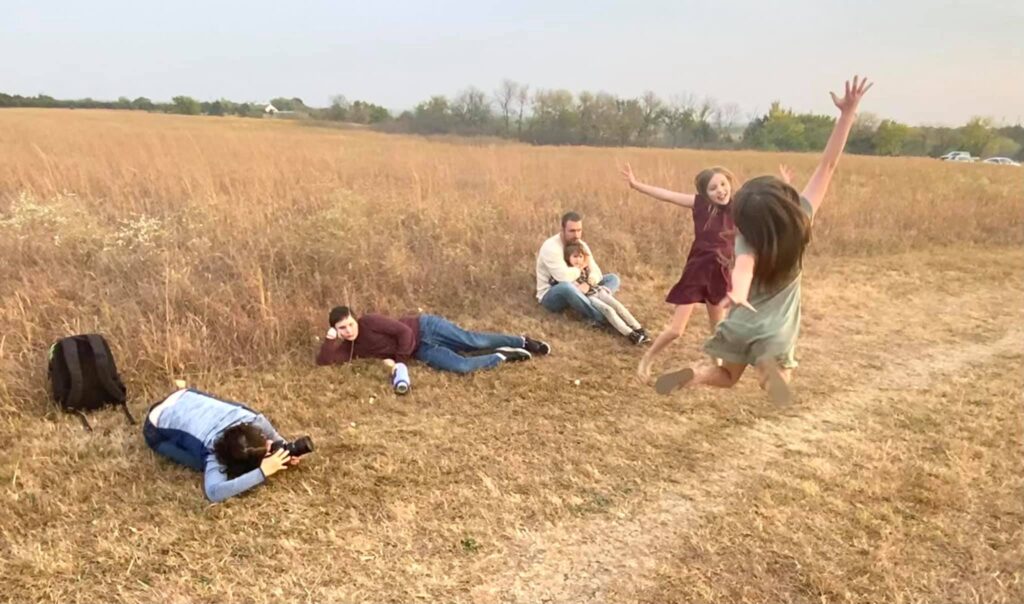
How low can you go?
Unless you can put your subjects on a bit of a hill and then shoot from below them (which I highly recommend), you’ll probably have to crouch pretty low on the ground to keep the horizon from blocking out part of your subjects. If you cannot get low enough to include their full body, try to get at a level where there is enough of their body to frame the picture well. Or you can also lighten the image to include more details of the foreground. I’ll often lie down on the ground to get low enough, but even then I sometimes have to accept partial subjects. Unless they can jump good and high!
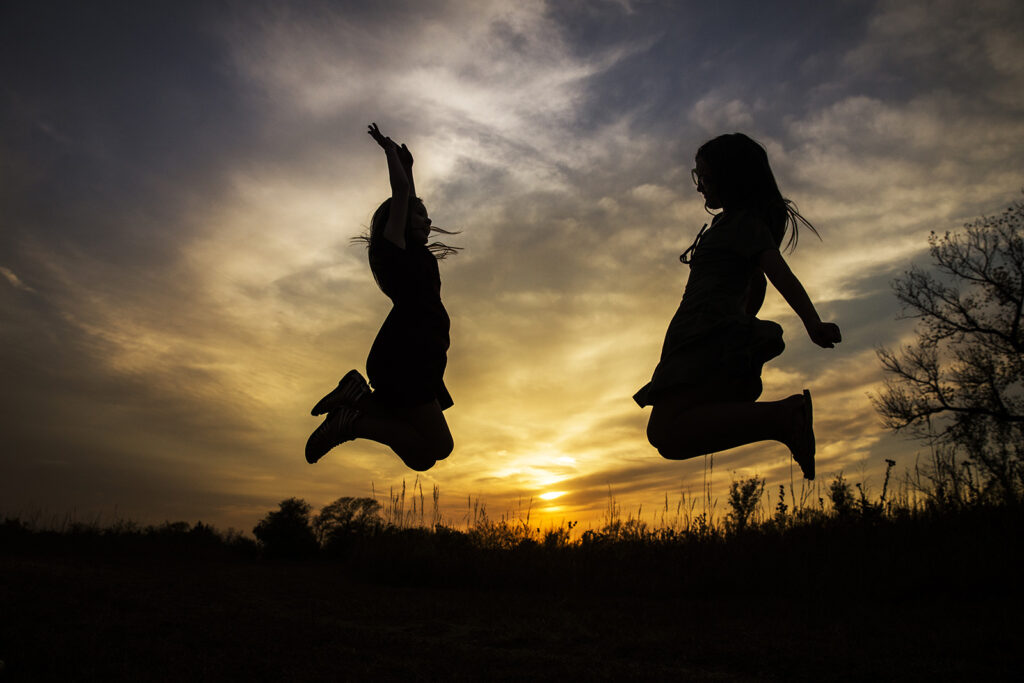
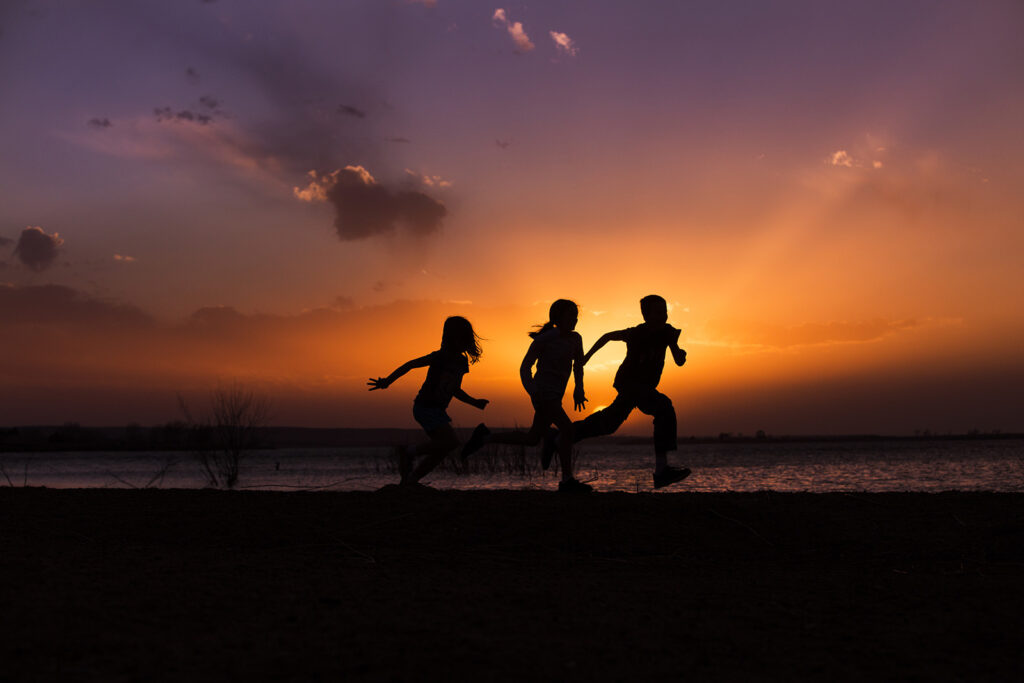
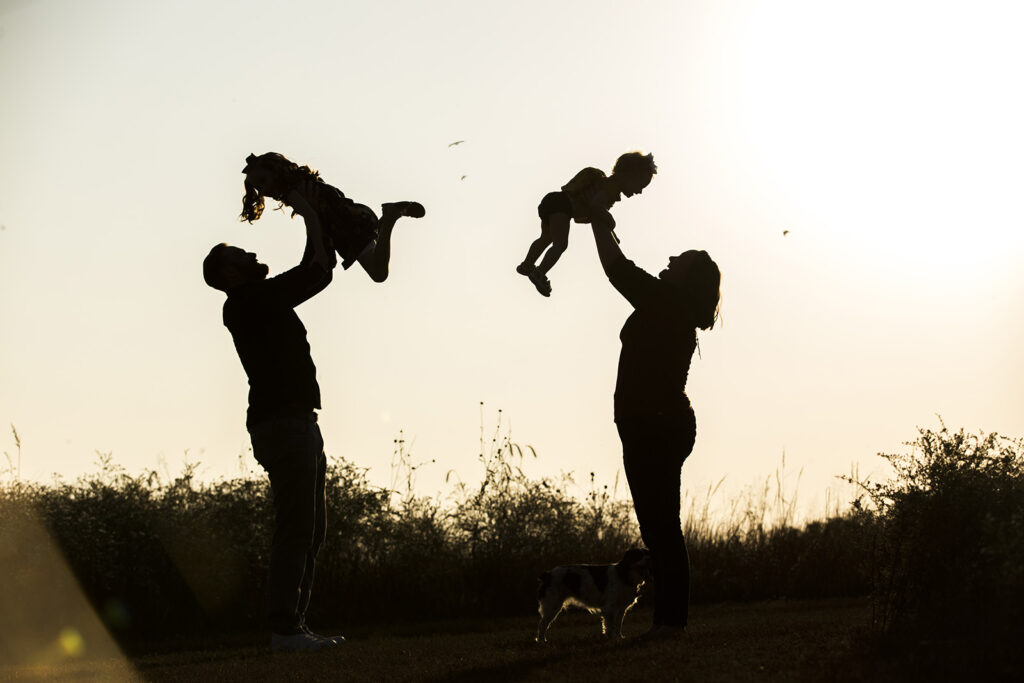
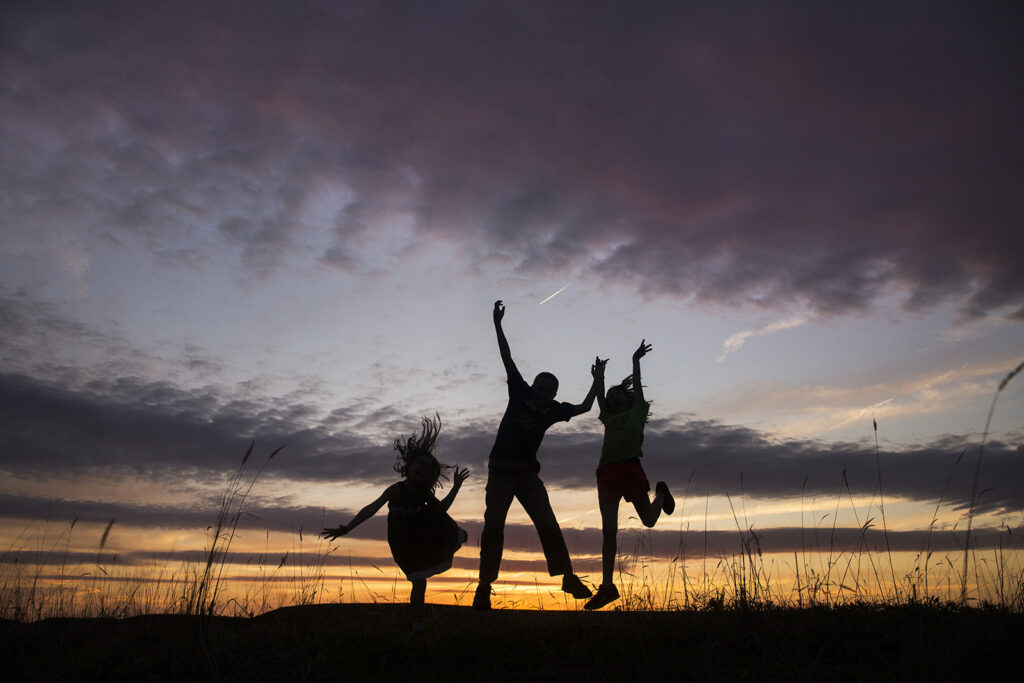
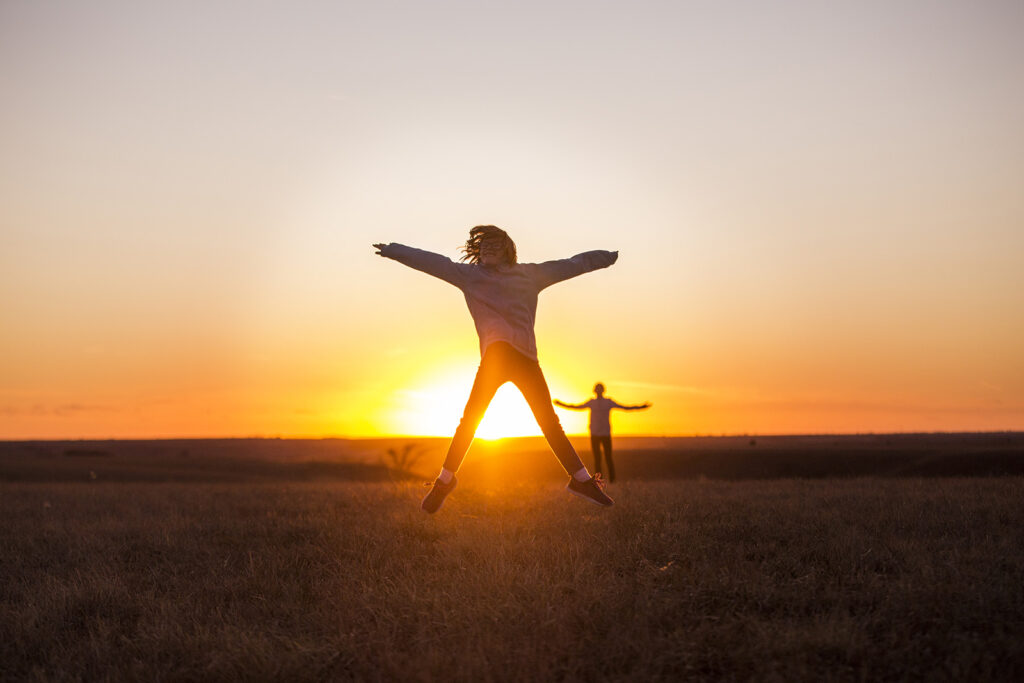
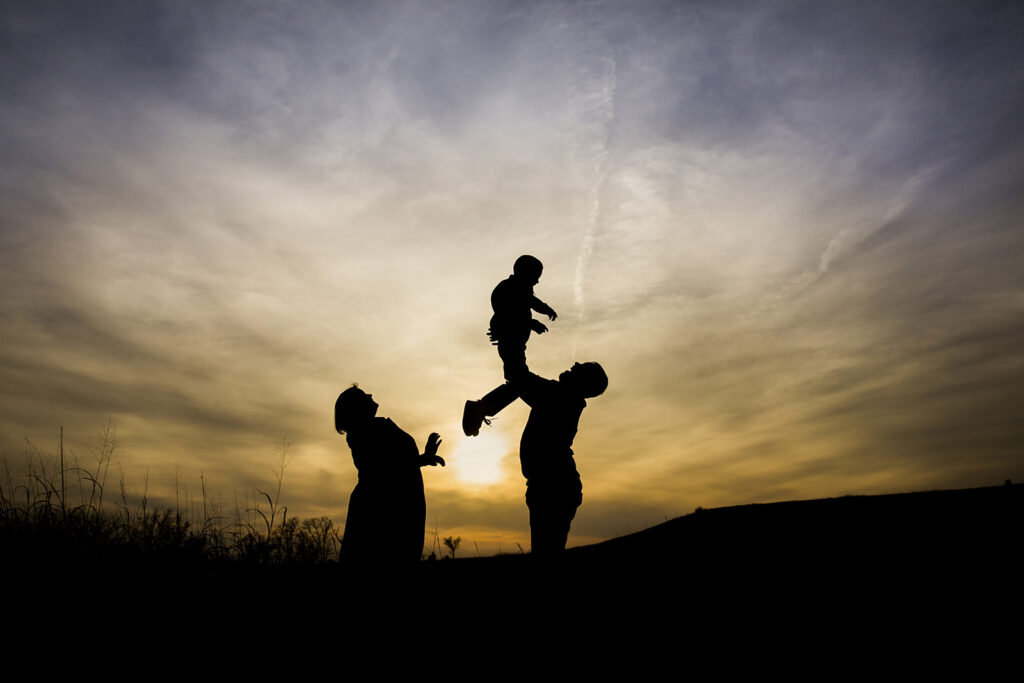
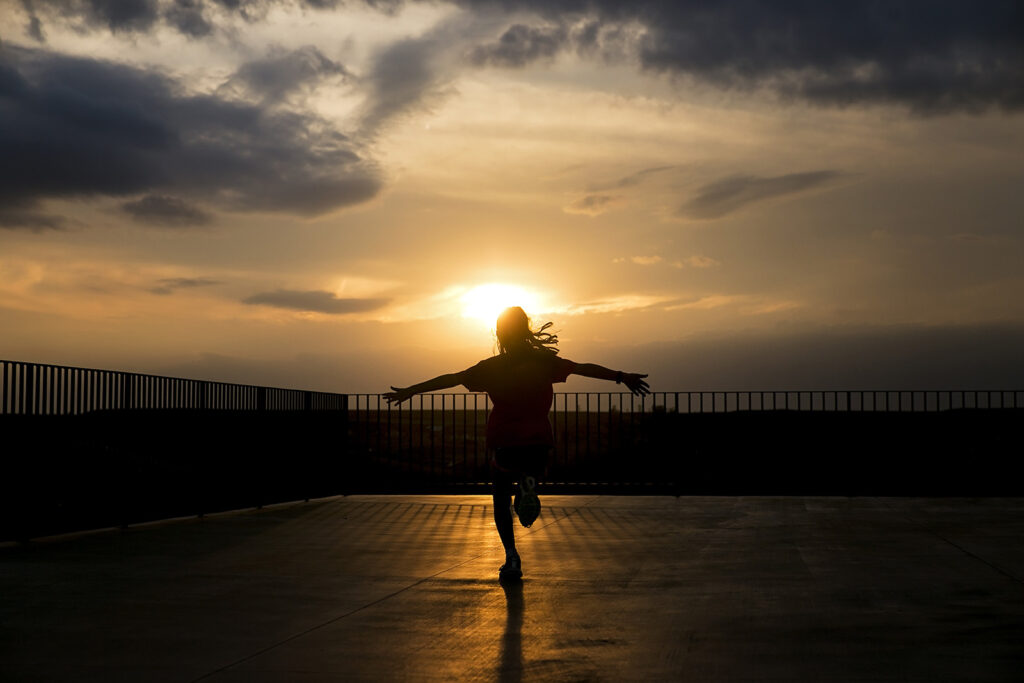
I love having my clients jump! Well, I love action shots in general, but jumping silhouettes are really fun. Direct them to stay turned to the side and kick their bottoms to get those legs as high off the ground as possible. 3-2-1-JUMP! I like to have them throw their hands in the air, while trying not to block their faces. Keeping the profile of their face visible is important to the photo if they are going to be able to identify that it is actually them. But, even if you don’t get the profile, you can still get some great pictures!

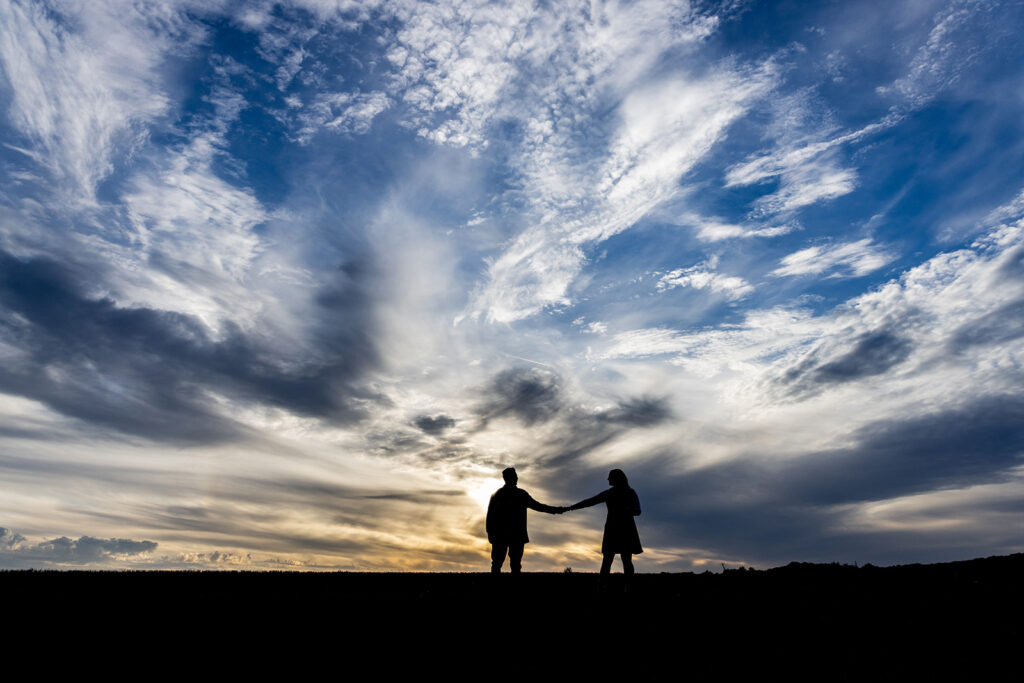
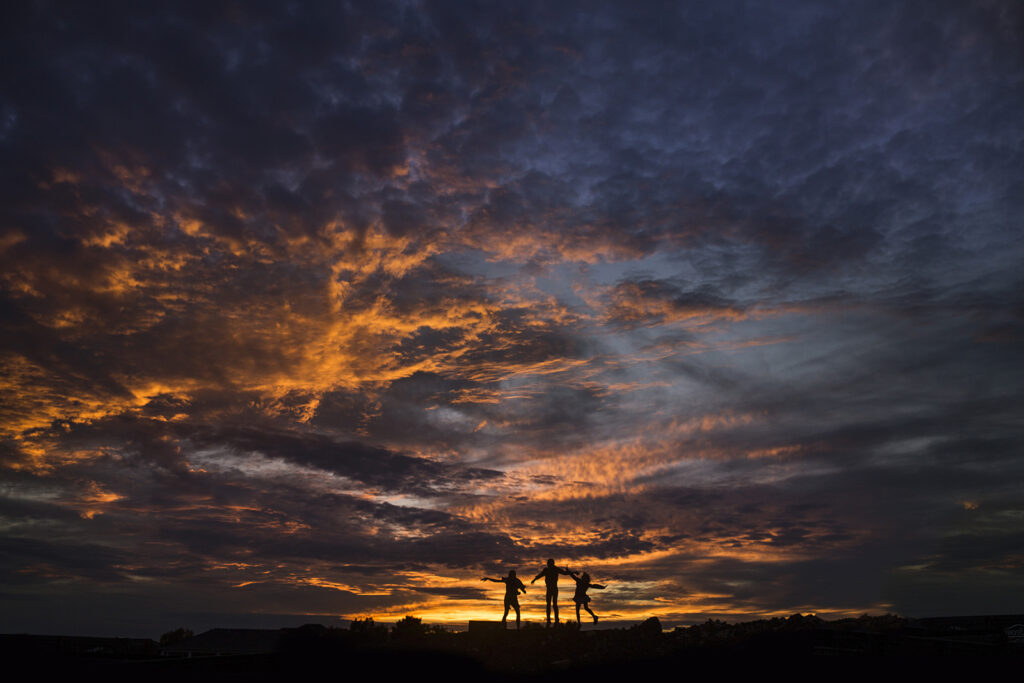
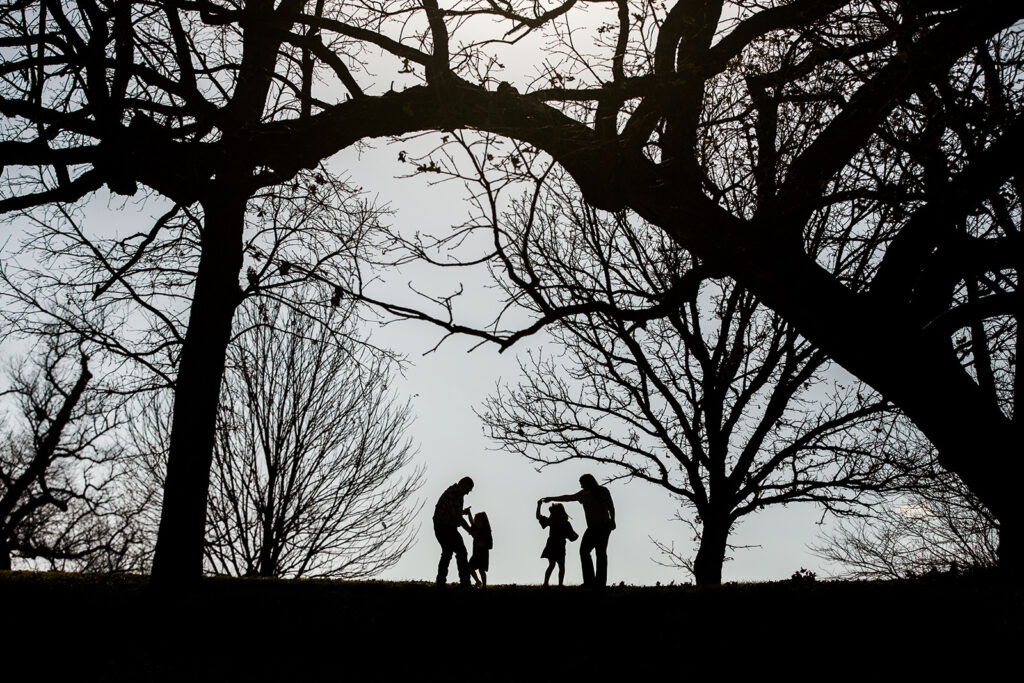
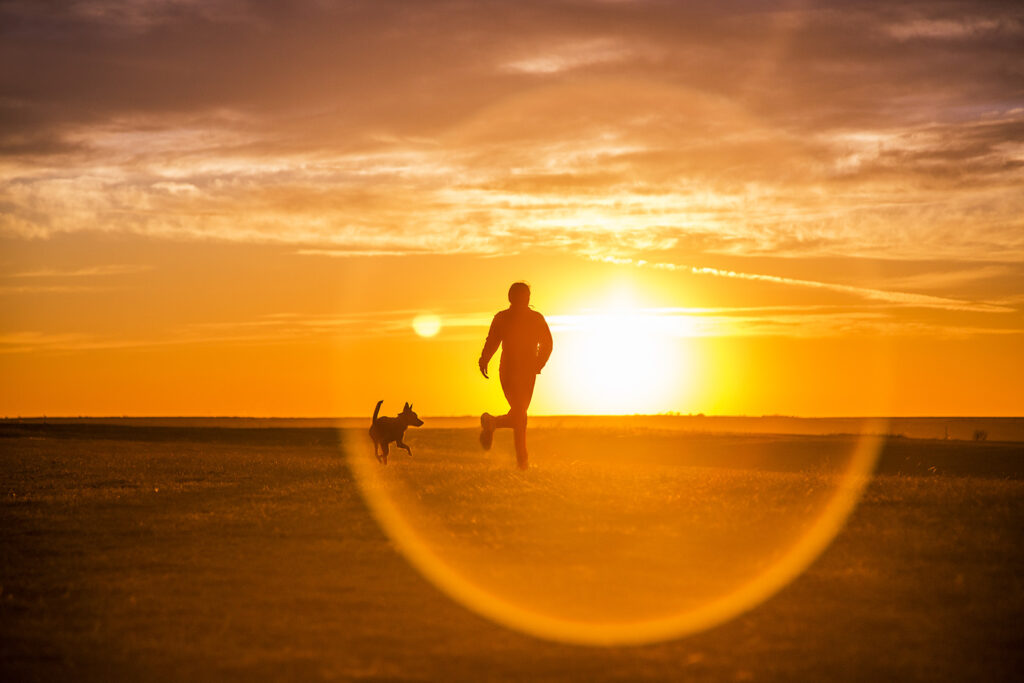
I recommend using a wide angle lens so you can include some pictures that really feature the full sunset. Big sky, little people pictures are awesome!

You can also frame your subjects with trees depending on your location. Try to get them to stand in a space with no other background objects making contact with their bodies.
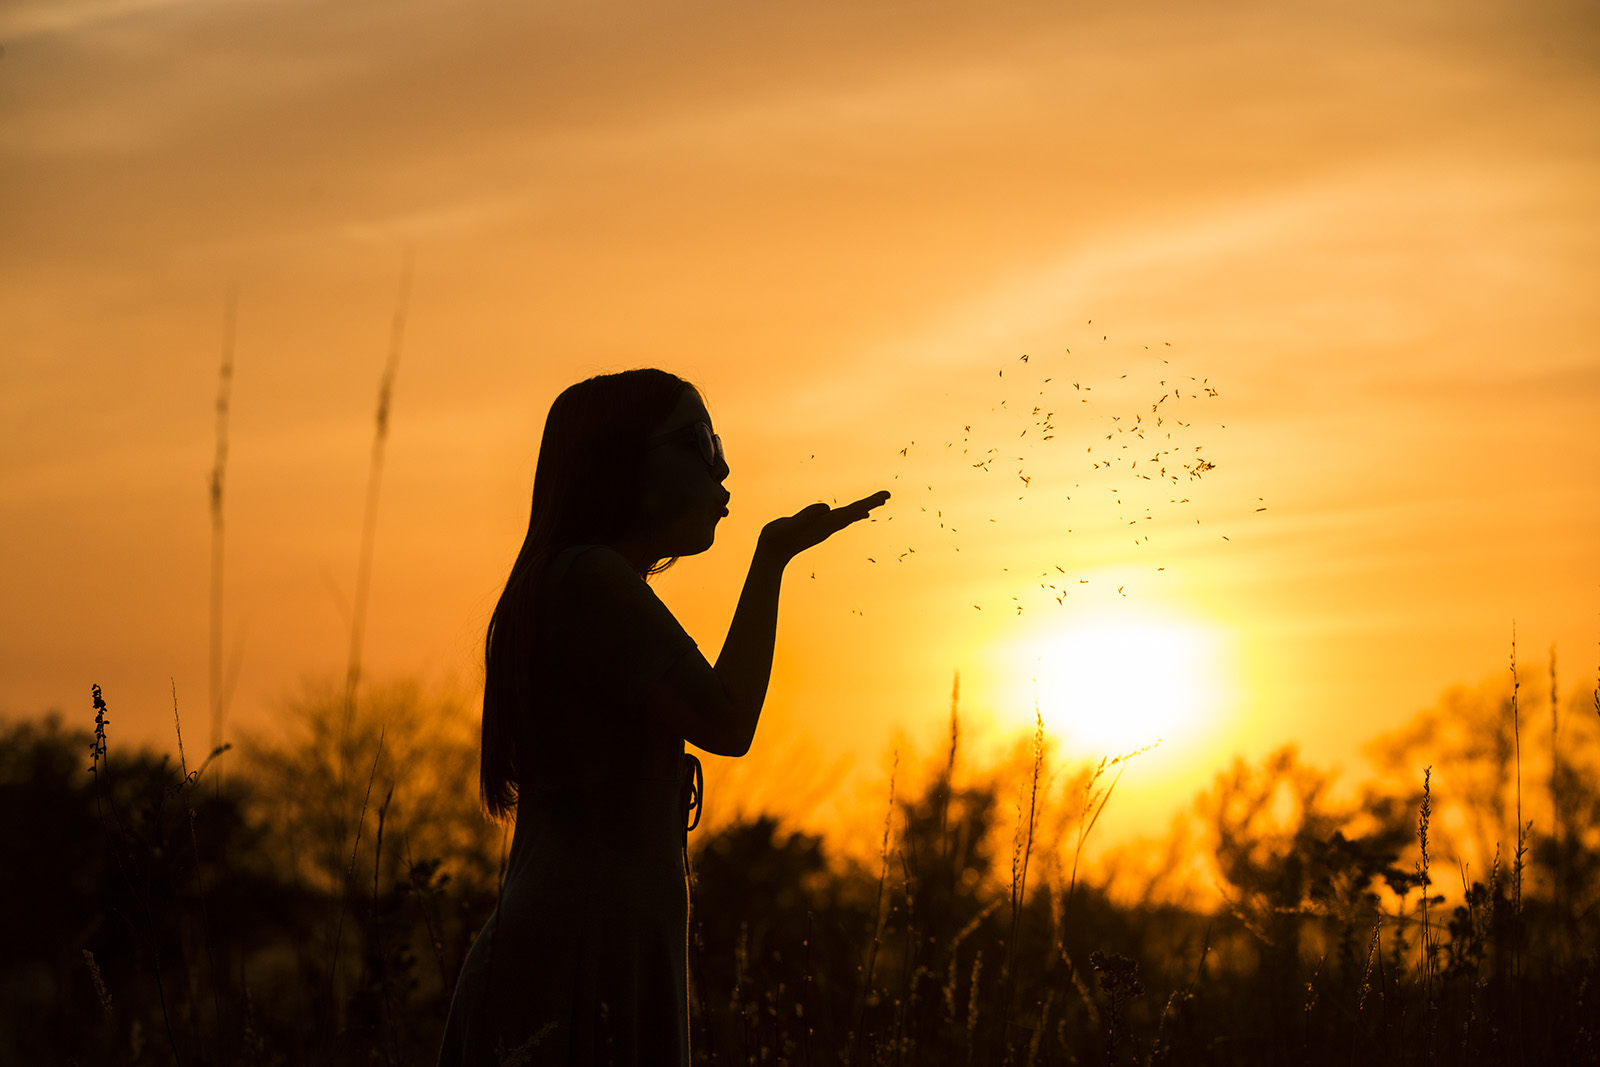
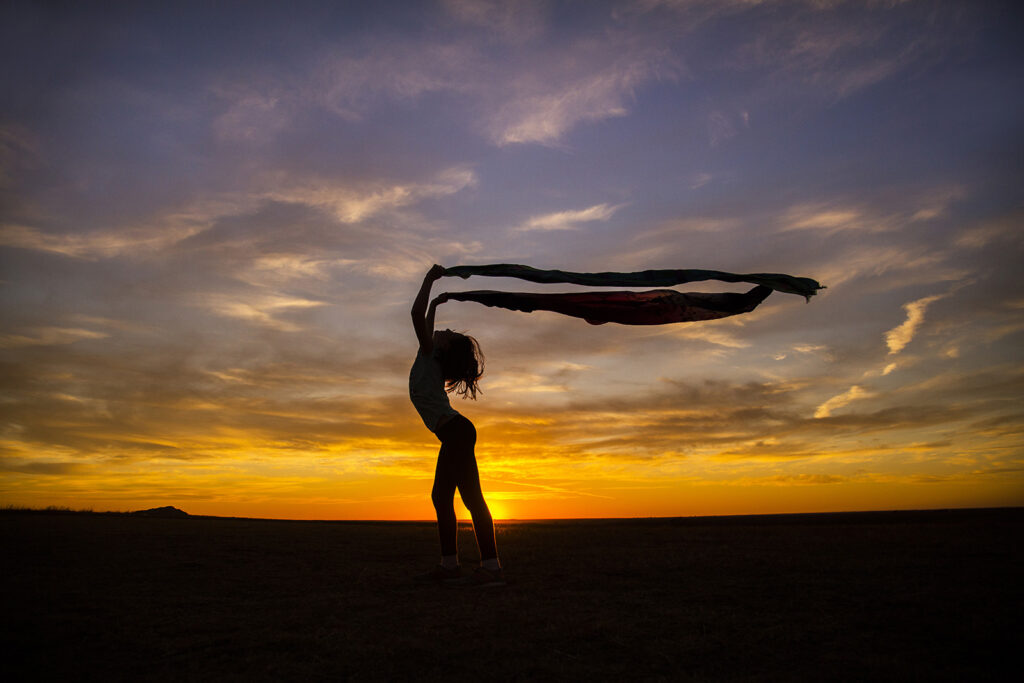
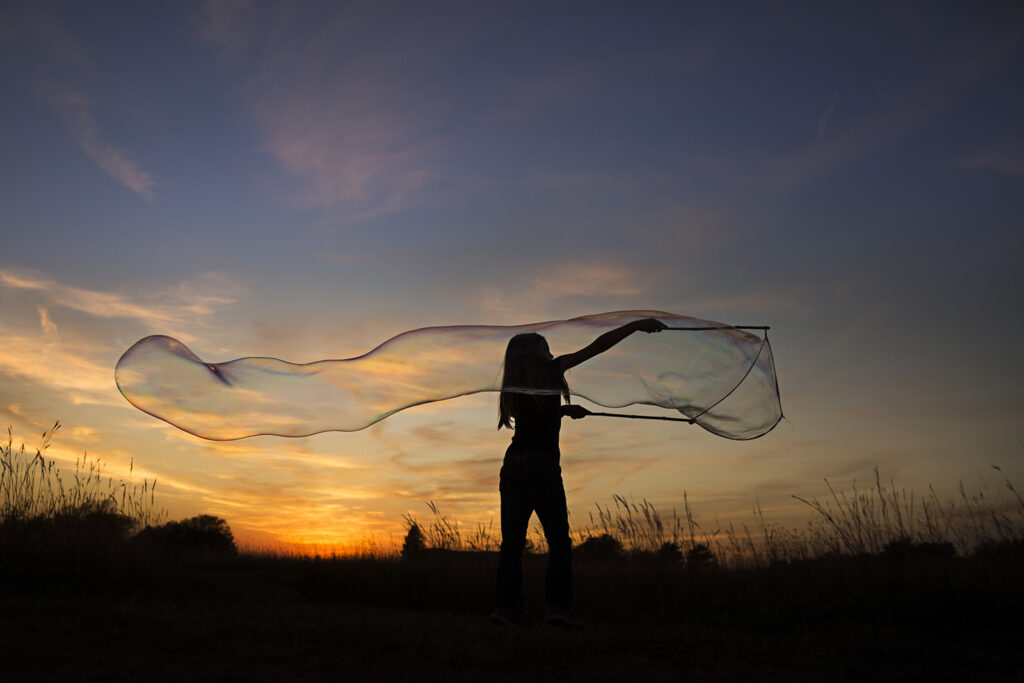
In addition to getting low, capturing profiles, and getting some fun jumping motion, don’t be afraid to bring some props. Water, sand, bubbles, and flowy fabric can all add to the magic! Just remember to keep that shutter speed high enough for the more active photos (at least 1/500 sec, but probably closer to 1/1000 sec if they are running and jumping). Get creative!

Feel free to reach out to me if you have any questions or suggestions. And don’t forget to follow me on Facebook for more photography fun!

Like this post? Go check out my blog on how I navigate the crazy, Kansas weather!


